Introduction:
Artists and designers have always found inspiration in the beauty of nature; among the most breathtaking natural components is the tree. Trees have come to represent life, development, and harmony with their organic forms and elegant, arching branches. Designing a curving tree in 3D printing lets you bring these aspects of nature into your area in a particular and artistic manner. A curving tree can be an eye-catching item, whether you’re making a functional object, a decorative sculpture, or an element for your 3D printed model. Offering advice and motivation for bringing this lovely form to life, we will walk you through the steps of designing, 3d printing, and finishing your curving tree model in this post.

What Would a Curvy Tree 3D Print Do?
Their natural, flowing curves and rich textures make curvy trees extremely attractive. A 3D print of a curving tree can be utilised in many different artistic uses, including:
- Home Decoration: Your living area, workplace, or yard can be artistically centred around a curving tree sculpture.
- Prototyping: A curving tree design could be essential if you are creating a larger model, such a treehouse or diorama.
- Objects with Function: Functional objects include tree-shaped 3D prints that may be converted into valuable products as wall hooks, jewellery stands, or lamps.
Curvy tree printables allow artists and enthusiasts to create detailed landscapes or nature-inspired art pieces. From aesthetic creations to utilitarian items, the adaptability of curving tree shapes in 3D printing makes them a popular choice for many different purposes.
3D Printing: Designing a Curvy Tree
Creating a curving tree for 3D printing calls for a mix of imagination, technical knowledge, and meticulous attention to detail. Here is a step-by-step guide on how to create a lovely, organic curving tree model:
Begin with the Trunk and Base
Your curving tree’s trunk is its basis. Consider the trunk’s curve and thickness; it should appear natural and strong enough to hold the branches. Usually thicker at the base, a tree trunk tapers upward.
How to act:
- Draw or sculpt the trunk: Start by sculpting the trunk with a natural, curved shape. Most 3D modeling tools let you design the trunk’s progressive curvature using methods including extrusion, lofting, or spline-based modelling.
- Think about the foundation: The base of the tree should be sufficiently broad to seem grounded. To suggest natural growth, consider including a small flaring effect at the bottom.
Curvy Branches Design
Once the trunk is finished, concentrate on designing the branches. A curved tree’s limbs should follow natural lines; some should bend up, some down, and some should twist to the sides. Remember that as branches distance themselves from the trunk, they naturally taper.
How to act:
- Draw with splines and curves: Model the branches using curves or splines in your 3D modelling software. For a more natural look, play around with various forms, maintaining their irregularity and asymmetry.
- Change the thickness of the branch: The branches should start broader at the base and taper toward the tips, much as the trunk. The major branches should have a larger diameter, while smaller twigs at the extremities should be thinner.
- Include lesser offshoots: To make the tree more complex, consider adding tiny offshoots and twigs to the branches. This will make the tree more dynamic and natural.
Include Leaves or Details
You can include leaves, flowers, or other details that enliven your design to improve your curving tree model further. Depending on your design preference, leaves can be sculpted separately or affixed to the branches. Consider including styled components, such as spirals or geometric leaves, for a more creative or abstract effect.
How to act:
- Design the leaf: If your tree is to have leaves, you can either design a pattern or texture that resembles foliage or model each leaf individually and connect it to the branches.
- Think about the size and style: The size of the leaves should fit the size of the branches and the general tree. For bigger, more artistic designs, you may choose bigger, more exaggerated leaves or abstract depictions of leaves.
Enhance the 3D Printing Model.
Once the main structure is set, the model for 3D printing has to be improved. A good print depends on the tree’s stable architecture and appropriate element connections. Keep in mind the following:
- Guarantee a strong link: The branches should be thick enough to print without breaking. Steer clear of too-thin branches that could snap during printing.
- Include supports: When printing your design, consider adding built-in supports or preparing to use external support systems if it contains complex or overhanging components.
- Examine printability: Depending on the size and complexity of your tree, ensure that your design fits inside your printer’s construction area and can be printed successfully.
Selecting the Correct Printing Material
The material you pick for your curving tree significantly influences its ultimate appearance, durability, and printing convenience. Here are a few materials to think about:
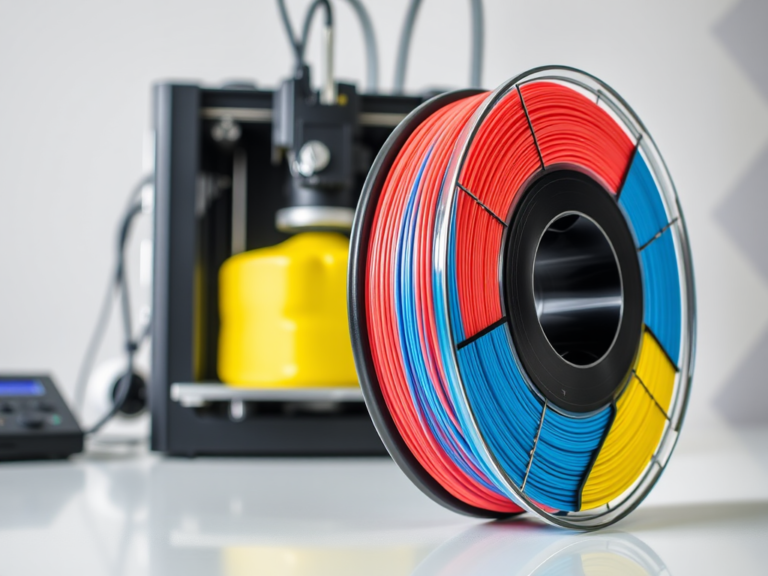
- Polylactic acid (PLA): Its simplicity and capacity to generate smooth, detailed prints make PLA one of the most widely used 3D printing materials. Its excellent surface polish makes it perfect for decorative items like a curved tree. Though compared to other materials, PLA is less durable, which makes it more appropriate for indoor or non-functional designs.
Advantages of PLA include:
- Suitable for intricate drawings and simple to print with
- Comes in several hues
- Non-toxic and biodegradable
- PETG (Polyethene Terephthalate Glycol): Strong, long-lasting, and flexible, PETG is great for functional or outdoor products. Its more wear and impact resistant than PLA, which makes it appropriate for designs that could undergo rigorous handling.
PETG’s advantages:
- Robust and flexible
- Resistant to impact and dampness
- Appropriate for both practical and ornamental items
- Acrylonitrile Butadiene Styrene (ABS): Known for its strength and heat resistance, ABS is a robust plastic. ABS can be the ideal option if your curving tree design will be in an outdoor or high-temperature location. It also includes great post-processing features for smoothing the print.
Advantages of ABS include:
- Robust and long-lasting
- Resistant to high temperatures
- Great for outdoor designs
- Resin: For detailed and complex designs, resin printing offers outstanding quality. Resin is excellent for producing precise features, such as tiny leaves, trunk textures, or other small parts in your curving tree. On the other hand, resin can be more challenging to work with than filament-based printing and requires post-curing.
Resin’s advantages:
- Fine details and high resolutions
- Flat finish
- Perfect for intricate decorative items
3D Printing Your Curvy Tree Blueprint
Your design is ready to print once it is complete. These are the procedures you must follow:
- Get the 3D printer ready: Make sure your 3D printer is correctly calibrated for the print and configured with the appropriate material. Should you be utilising resin, make sure your resin printer is stocked with the suitable material.
- Model Slicing: Convert your 3D model into G-code using slicing tools such as Cura or PrusaSlicer. This program will let you change parameters such as layer height, print speed, and infill density to maximise your print quality.
- Print the third one now. When everything is set, begin printing and track the progress. Depending on the intricacy of your curving tree model, this could take many hours.
- Postprocessing: Once the print is finished, carefully take your crooked tree off the print bed. Clean up any supports, sand rough edges, and add finishing touches, such as paint or texture, to give your model a more realistic appearance if needed.
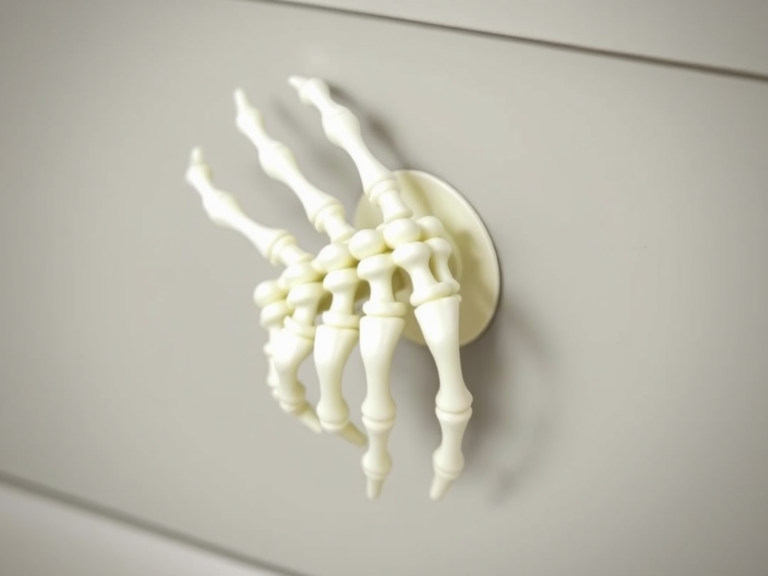
READ MORE – 3d Print Skeleton Hand Drawer Pull: Creative Designs for Unique Home Decor
FAQs:
- Which 3D printer works best for creating a curving tree model? Any FDM or resin printer can produce a curving tree model, but make sure the print bed is big enough for your design. While FDM printers are suitable for bigger models, resin printers are perfect for detailed work.
- How can I prevent my tree’s branches from breaking while printing? Design the branches with sufficient thickness and consider adding supports where they overhang. For stronger prints, use materials like ABS or PETG that are more resilient.
- Can I utilise several colours in my curving tree design? Certainly, multi-material or multi-colour 3D printing methods will let you produce various colours for the trunk, branches, and leaves. After printing, you can also paint the tree.
- How long will it take to print a curving tree design? The size and complexity of your design will determine how long it takes to print a curving tree model. While a more thorough, larger model could take up to 24 hours or more, a simple model might take 6–10 hours. The 3D printer, material, and layer height you select will determine printing speed.
- Could I use the curving tree design outside? Your curving tree design can withstand outdoor conditions if you use a strong material like PETG or ABS. Ensure the material is weather-resistant to guarantee it lasts over time, especially if exposed to direct sunlight or rain.
Conclusion:
Building a crooked tree 3D print is a fun and creative approach to adding a special design component to your home decor, models, or utilitarian items. 3D printing allows you to create and print a tree that exactly fits your idea. The process of designing and printing a curving tree can bring nature into your home in a modern, artistic style, whether you use PLA, PETG, or resin.

